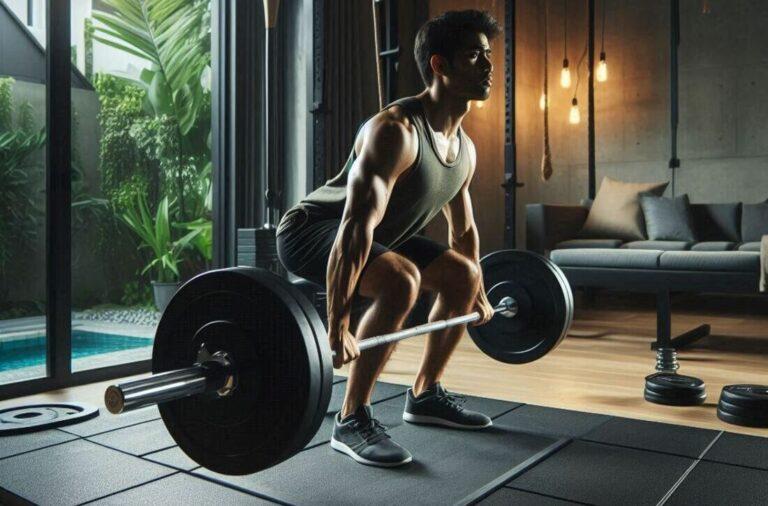
Congratulations on taking the first step towards a healthier lifestyle by creating your dream home gym!
Now comes the exciting part – equipping your space with the perfect flooring.
But before you dive headfirst into rolls of rubber or boxes of interlocking tiles, a crucial question arises, should you tackle the installation yourself (DIY) or hire a professional?
The answer, like most things in life, depends on your budget, comfort level with DIY projects, and the complexity of your chosen flooring.
This comprehensive guide will break down the estimated costs associated with both DIY and professional installation of popular home gym flooring options, empowering you to make an informed decision that fits your needs and wallet.
Why is Choosing the Right Installation Method Important?
While the flooring itself is a significant investment, the installation method also plays a crucial role in your overall budget.
Here’s why choosing the right method matters:
- Cost-effectiveness: DIY installation can potentially save you money on labor costs. However, factor in the cost of any rental tools required and potential material waste due to installation errors.
- Quality and Performance: Proper installation ensures a smooth, even surface that optimizes the performance and longevity of your gym flooring. Improper installation can lead to gaps, unevenness, and potential safety hazards.
- Time Commitment: DIY projects require time investment. Professional installation can save you time and allow you to start using your home gym sooner.
- Peace of Mind: Hiring a professional installer often comes with warranties or guarantees on their work. This can provide peace of mind knowing you’re covered in case of installation issues.
DIY vs. Professional Installation: Cost Breakdown by Flooring Type
Here’s a detailed comparison of the estimated costs associated with DIY and professional installation for popular home gym flooring options:
| Flooring Type | Material Cost (per sq. ft.) | DIY Installation Cost (per sq. ft.) | Professional Installation Cost (per sq. ft.) |
|---|---|---|---|
| Interlocking Rubber Tiles | $3 – $8 | Low (minimal tools required) | $2 – $5 |
| EVA Foam Mats | $1 – $3 | Low (no special tools needed) | $1 – $2 |
| PVC Gym Floor Rolls | $2 – $5 | Low (may require a utility knife) | $1 – $3 |
| Wood Panels (engineered or laminate) | $3 – $7 | Moderate (requires cutting tools and underlayment) | $3 – $5 (plus underlayment cost) |
Key Takeaways from the Cost Breakdown Table
- DIY is generally more cost-effective: For most flooring options, DIY installation offers potential savings on labor costs.
- Material cost is a major factor: The cost of the flooring material itself significantly impacts the overall project cost.
- Complexity influences installation cost: Simpler flooring options like interlocking tiles or EVA foam mats have lower professional installation costs.
- Wood panels require more expertise: While DIY installation for wood panels is possible, it requires more skills and tools, potentially negating some cost savings.
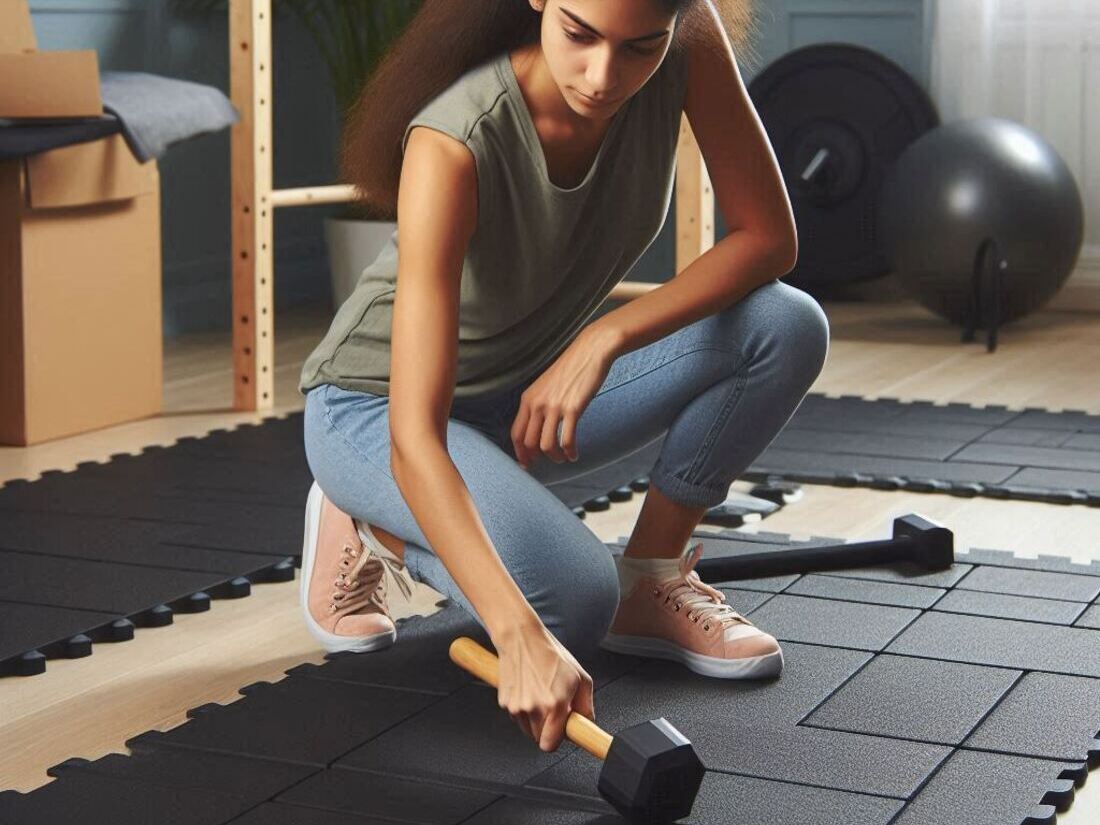
Additional Considerations for DIY Installation

- Skill Level: Be honest about your DIY skills and experience. Complex installations like glued-down rubber tiles might be better left to professionals.
- Tools and Equipment: Factor in the cost of any rental tools you might need for DIY installation.
- Time Investment: DIY projects take time. Consider the time commitment required for purchasing materials, prepping the subfloor, and installation itself.
- Potential for Errors: DIY mistakes can lead to wasted materials and the need to re-do sections. Factor in a buffer for potential errors when calculating your DIY cost.
FAQs: Frequently Asked Questions on DIY vs. Professional Gym Flooring Installation
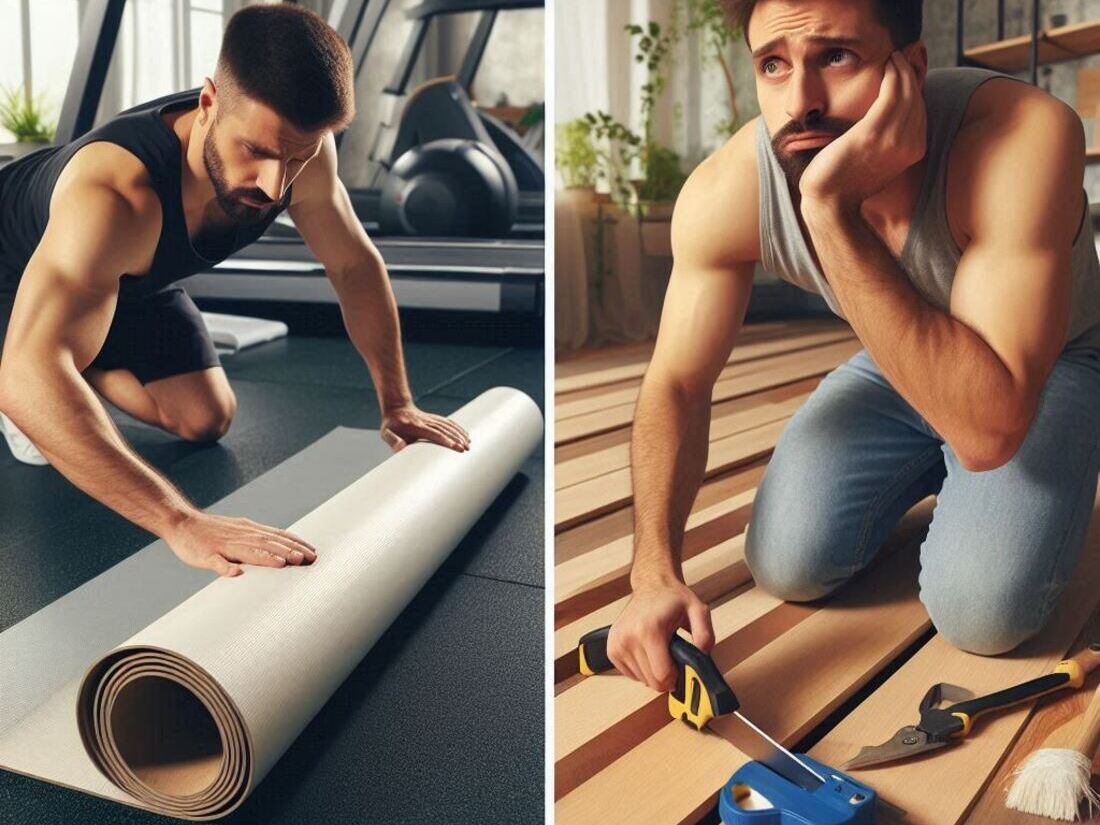
Q: Can I install all types of gym flooring myself?
A: While some options like interlocking tiles or EVA foam mats are relatively easy for DIY, complex installations like glued-down rubber or wood panels might be best left to professionals.
Q: What tools do I need for DIY gym flooring installation?
A: The tools needed depend on the flooring type. Common tools include a utility knife, tape measure, straight edge, rubber mallet (for interlocking tiles), and possibly a cutting mat for safety.
Q: How can I find a qualified professional installer for my home gym flooring?
A: Get recommendations from friends, family, or local gyms. You can also search online for flooring contractors in your area and look for companies with experience in gym flooring installations.
DIY vs. Professional Gym Flooring Installation Decision Matrix
| Factor | DIY Installation | Professional Installation |
|---|---|---|
| Budget | Priority | Not a major concern |
| DIY Skills | Comfortable | Limited or no experience |
| Time Commitment | Willing to invest time | Limited time available |
| Flooring Complexity | Simple (interlocking tiles, EVA foam mats) | Complex (glued-down rubber, wood panels) |
| Comfort with Errors | Willing to accept potential mistakes | Prefer a flawless installation |
| Desired Outcome | Cost-effective solution | High-quality, guaranteed installation |
How to Use the Table:
- Read down each factor in the left column.
- Consider your priorities and preferences for each factor.
- If your answer aligns more with the DIY installation column, then DIY might be a good choice for you.
- If your answer aligns more with the professional installation column, then hiring a professional might be a better option.
Note: This table is a guide and shouldn’t replace your own judgment. Consider all factors before making a decision.
Conclusion: Making the Right Choice for Your Home Gym Flooring Installation
Ultimately, the decision between DIY and professional installation for your home gym flooring comes down to a careful evaluation of your budget, skill level, and desired outcome.
Here’s a quick decision-making flow list to help you choose:
DIY Installation Might Be Right for You:
- You have a tight budget and prioritize cost savings.
- You’re comfortable with DIY projects and possess the necessary skills for your chosen flooring type.
- You have the time to invest in purchasing materials, prepping the subfloor, and completing the installation.
- You’re comfortable with the potential for minor errors during installation and the possibility of needing to re-do sections.
Hiring a Professional Installer Might Be Right for You:
- You value a flawless, high-quality installation that optimizes the performance and longevity of your gym flooring.
- You lack the time or confidence to tackle the installation yourself.
- You’re installing complex flooring options like glued-down rubber tiles or wood panels.
- You want the peace of mind that comes with a warranty or guarantee on the installation work.
Remember: Regardless of whether you choose DIY or professional installation, prioritize proper subfloor preparation. Ensure your F is clean, level, and free of moisture to create a solid foundation for your gym flooring.
With careful planning, informed decision-making, and a focus on quality, you can create a safe, functional, and inspiring home gym space that fuels your fitness journey for years to come.
Happy lifting!
Related Posts