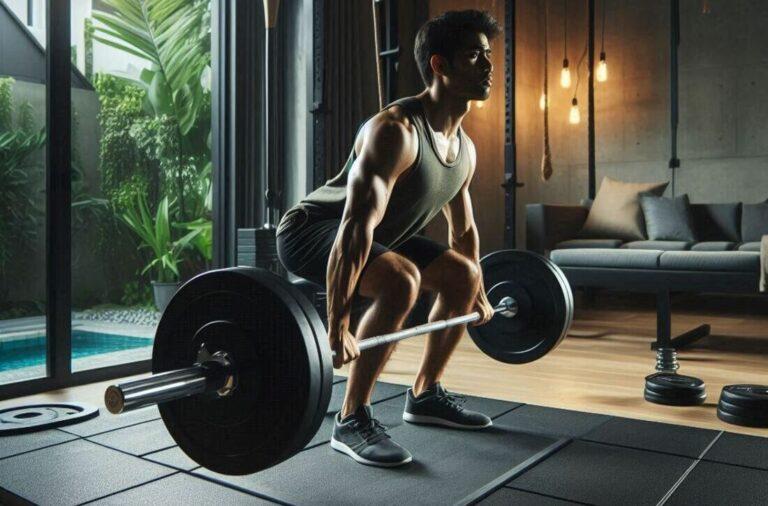
Congratulations on taking the first step towards a healthier lifestyle by creating your own home gym!
Having a dedicated workout space offers numerous benefits, from convenience and privacy to time savings and a personalized environment.
But before you start loading up on weights and equipment, there’s a crucial foundation to consider, the flooring.
Think about it – your home gym floor needs to be tough enough to withstand dropped weights, energetic jumping jacks, and the constant pounding of exercise routines.
It should also be comfortable underfoot, slip-resistant for safety, and ideally, easy to install, especially for beginners.
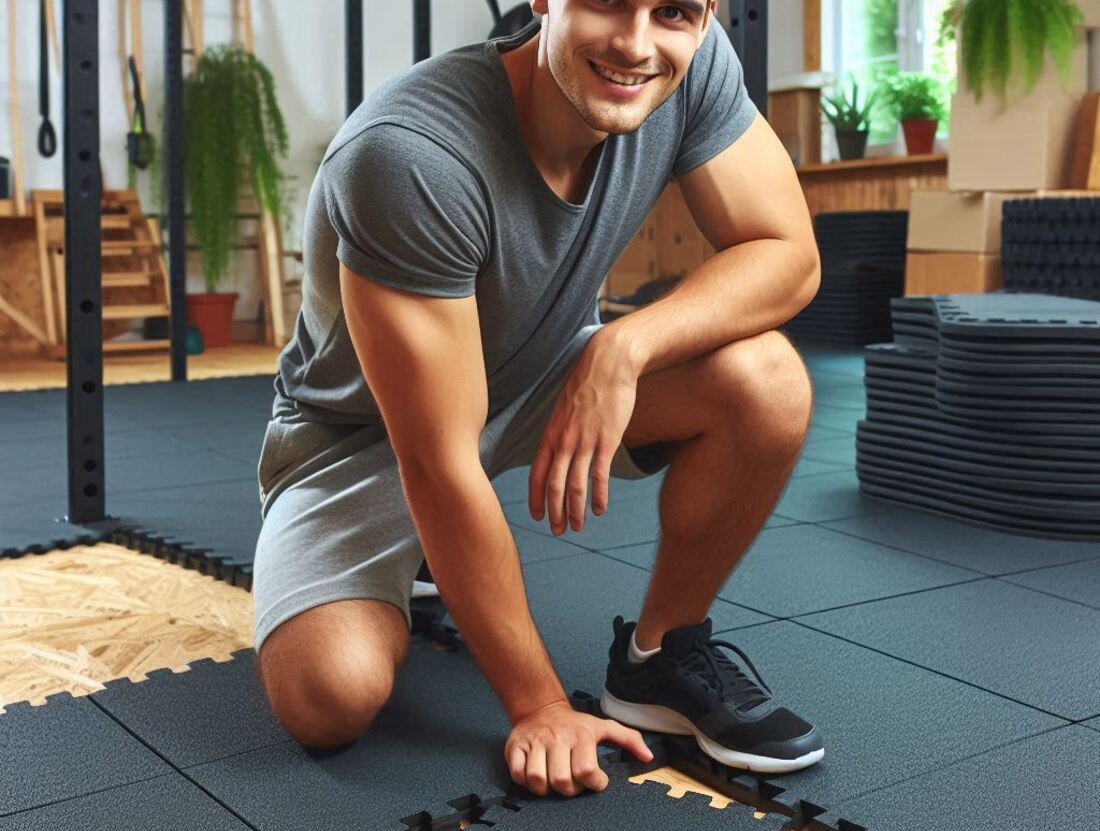
If the thought of complicated flooring installation is putting a damper on your home gym dreams, fear not!
This guide is designed specifically for beginners, offering clear and actionable steps for installing various easy-to-install flooring options perfect for your home gym.
Why is Choosing the Right Home Gym Floor Important?
Beyond aesthetics, installing the right gym flooring offers a multitude of benefits:
- Protection: A durable floor safeguards your subfloor (usually concrete, wood, or tile) from scratches, dents, and cracks caused by dropped weights or exercise equipment.
- Impact Absorption: Gym flooring cushions your joints and reduces noise during high-impact activities like jumping rope or plyometrics, minimizing strain and creating a more considerate environment (especially in apartment settings).
- Safety: The right flooring provides excellent slip resistance, preventing accidents and injuries during sweaty workouts.
- Comfort: High-quality gym flooring offers a comfortable base for various exercises, whether you’re performing lunges, kneeling planks, or yoga stretches.
- Noise Reduction: A good gym floor dampens sound transmission, minimizing noise disturbance for you and potentially your downstairs neighbors.
Effortless Installation: Top Choices for Beginner-Friendly Gym Flooring
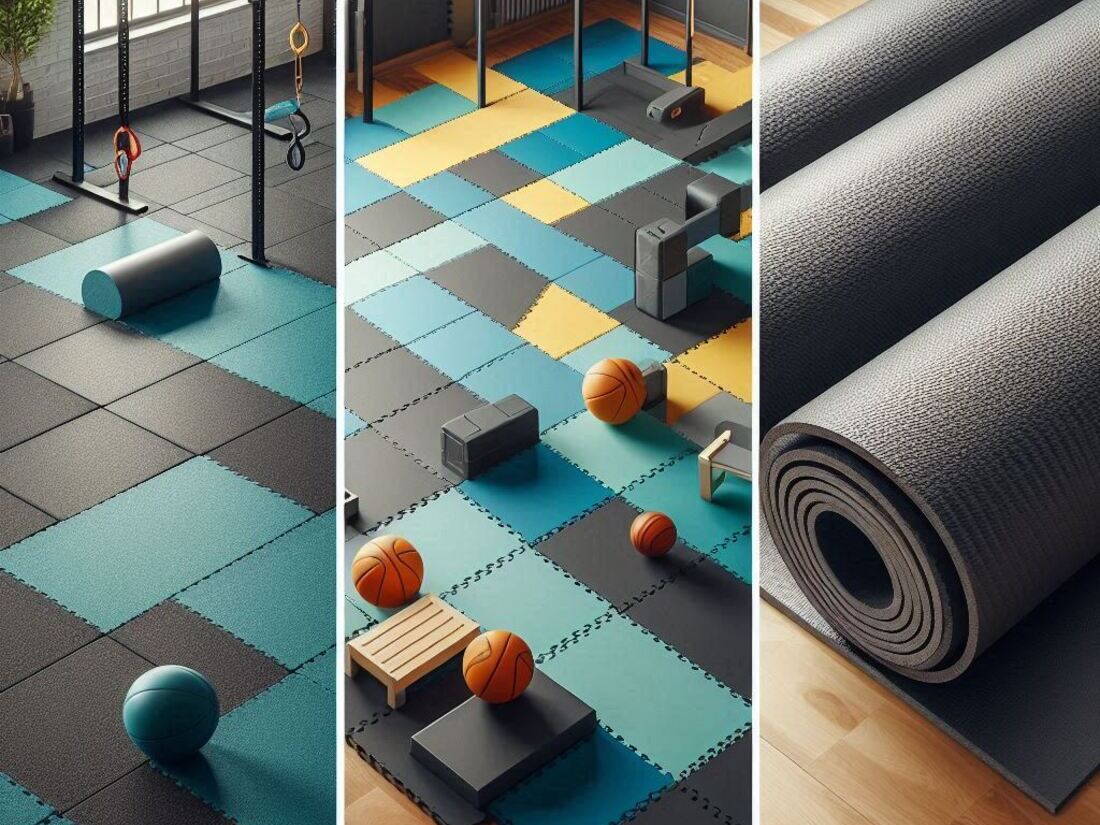
Not all gym flooring requires professional installation. Here are some popular options known for their ease of use: (Note: Affiliate Links)
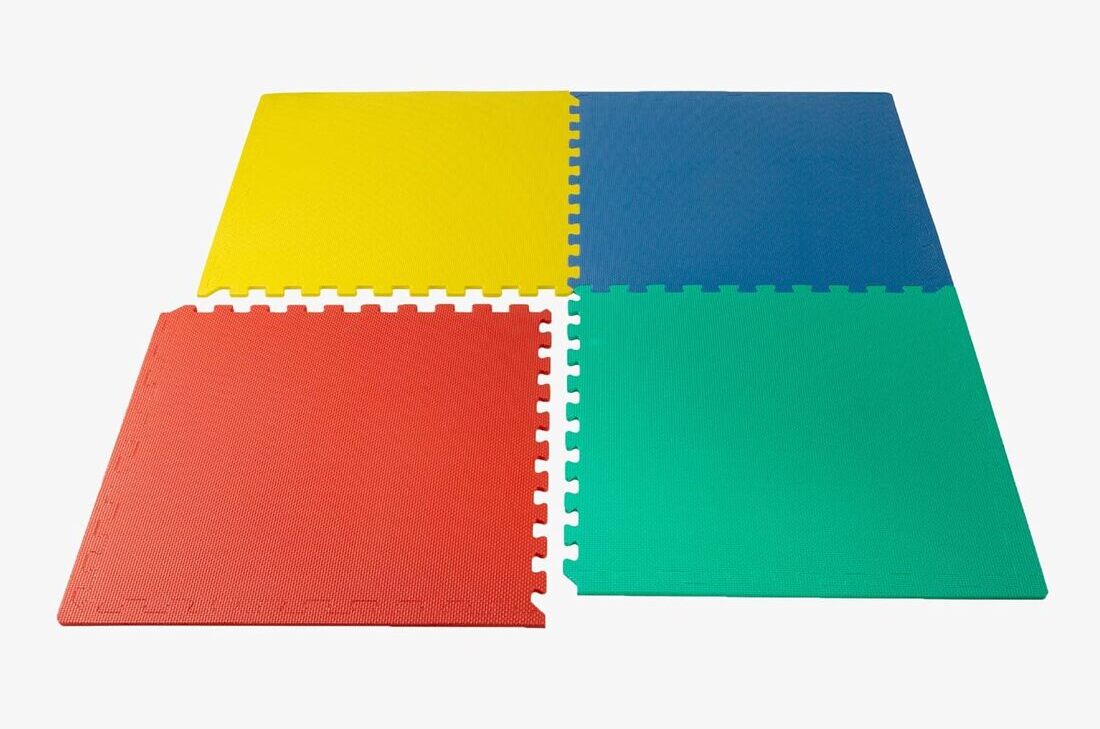
Interlocking Rubber Tiles
- Description: Interlocking rubber tiles are a top choice for beginners due to their simple installation process. Made from durable recycled rubber, they come in various thicknesses (typically 3/8″ to ¾”), interlocking puzzle-like edges for seamless connection, and a textured surface for superior traction.
- Pros: Easy to install, durable, absorbs impact, soundproofs, comfortable underfoot, various colors and styles available.
- Cons: Can be slightly more expensive than some other options.
EVA Foam Mats
- Description: EVA foam mats are known for their affordability and comfort. Made from lightweight ethylene-vinyl acetate foam, they come in interlocking squares or rolls and offer a softer feel underfoot.
- Pros: Very affordable, easy to install, lightweight and portable, comfortable for floor exercises.
- Cons: Not as durable as rubber tiles, may not be suitable for heavy weights or high-impact exercises.
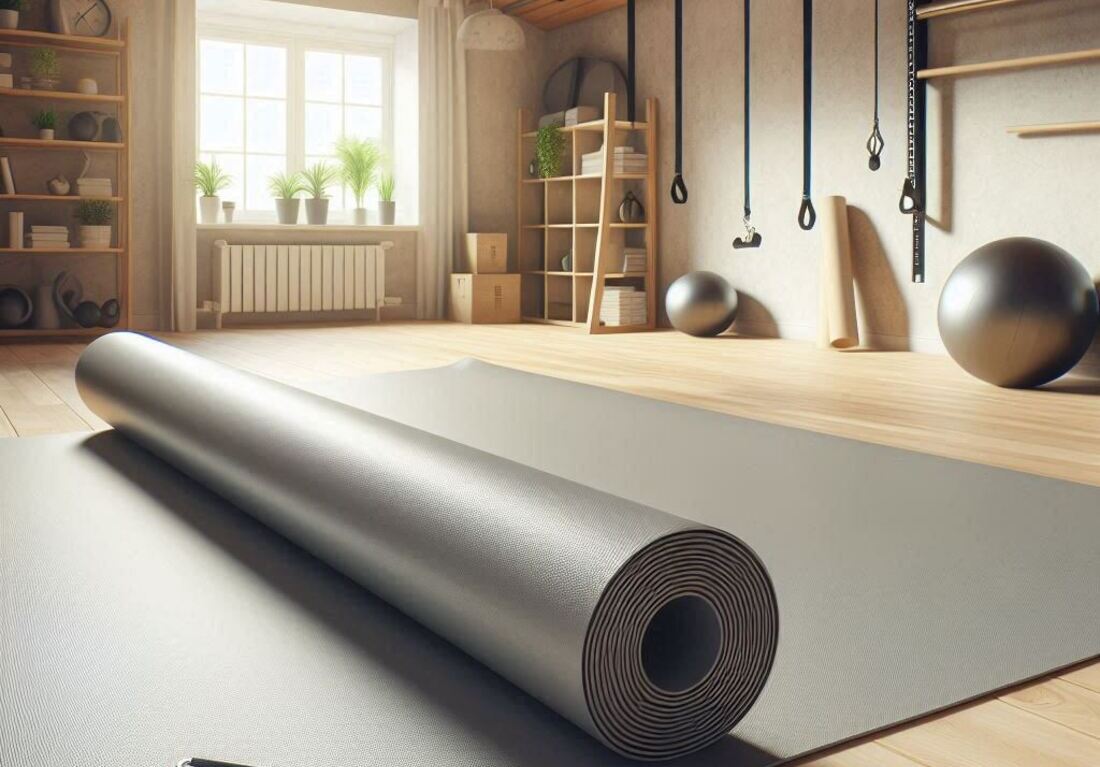
PVC Gym Floor Rolls
- Description: PVC (polyvinyl chloride) gym floor rolls are a cost-effective option that provides a smooth, easy-to-clean surface. They come in various thicknesses and offer decent cushioning.
- Pros: Affordable, easy to install (can be cut to size), water-resistant, easy to clean.
- Cons: May not be as durable as rubber tiles, can be slippery when wet, offers less impact absorption.
Key Takeaways on Choosing Easy-Install Gym Flooring
- Consider your workout style: For high-impact activities or heavy weights, prioritize durable rubber tiles. For lower-impact workouts or those on a budget, EVA foam or PVC rolls can be suitable.
- Think about comfort: EVA foam offers the softest feel, while rubber tiles provide a good balance of comfort and support. PVC offers a smooth surface.
- Match your budget: Rubber tiles are typically the most expensive, followed by EVA foam and then PVC rolls.
Effortless Installation Guide: Getting Your Gym Floor Up and Running
Now that you’ve chosen your easy-install flooring option, let’s get down to the installation process!
General Tips Before You Begin
- Measure your workout space: Knowing the exact dimensions will help you determine how much flooring you need.
- Gather your tools: Depending on your chosen flooring, you might need a utility knife, tape measure, straight edge, rubber mallet (for tapping tiles together), and a pencil for marking cuts.
- Prepare the subfloor: Ensure your subfloor is clean, dry, level, and free of debris. Patch any cracks or holes for a smooth installation.
Installing Interlocking Rubber Tiles

- Layout the tiles: Starting from a corner, loosely lay the tiles in your desired pattern. You can experiment with different layouts to create a custom design or simply follow a straight brick pattern. Leave a small gap around the perimeter to account for wall irregularities.
- Cutting tiles (if necessary): For a precise fit along walls or around corners, use a sharp utility knife, a straight edge, and a cutting mat (recommended for safety) to cut tiles. Measure the required dimensions and mark the cutting line clearly. Score the line a few times with the knife for a clean cut, then snap the tile along the score mark.
- Connect the tiles: Begin at the corner where you started the layout. Grip the nub of one tile and insert it into the groove of the adjacent tile at a 45-degree angle. Press down gently until you hear a snap, indicating a secure connection. Continue connecting tiles in a row, then move on to the next row.
- Tapping tight connections: For a truly seamless look and a secure fit, use a rubber mallet to gently tap the edges of the connected tiles together. This ensures a tight fit and minimizes any gaps.
- Finishing touches: Once all the tiles are connected, trim any edges that protrude from the desired area using the cutting method mentioned earlier.
Installing EVA Foam Mats
- Unroll and flatten: Lay out the EVA foam mats on your prepared subfloor. Most mats come rolled up, so allow them some time to flatten completely. You can gently weigh down any curled corners with books or other objects to expedite the process.
- Connect interlocking mats (if applicable): Some EVA foam mats feature interlocking edges. If yours do, simply connect the sides by aligning the puzzle-like edges and pressing them together firmly.
- Cutting mats (if necessary): Similar to rubber tiles, use a sharp utility knife, straight edge, and cutting mat to cut EVA foam mats to fit around corners or specific areas.
- Seaming non-interlocking mats: For non-interlocking mats, you can use double-sided carpet tape along the seams to create a more secure connection and prevent them from separating during workouts.
Installing PVC Gym Floor Rolls
- Unroll and flatten: Carefully unroll the PVC gym floor roll in your workout space. It might take some time for the roll to flatten completely. You can use a weighted object like a toolbox to gently press down on any curled edges.
- Trimming the edges: Measure the exact dimensions of your workout space and use a sharp utility knife, straight edge, and cutting mat to trim the edges of the PVC roll for a precise fit.
- Securing the edges (optional): While not always necessary, you can secure the edges of the PVC floor roll using double-sided carpet tape or wall tape to prevent them from curling up during use.
Key Takeaways on Effortless Gym Floor Installation
- Measure and plan: Measure your workout space and plan the layout before starting installation.
- Prepare the subfloor: Ensure a clean, dry, level subfloor for optimal results.
- Follow installation instructions: Each flooring type might have slightly different installation steps. Refer to the manufacturer’s instructions for specifics.
- Be mindful of cutting: Use a sharp utility knife, straight edge, and cutting mat for safe and precise cuts.
- Start from a corner and work your way out: This ensures a systematic and organized installation process.
- Secure connections: For interlocking tiles, press firmly until you hear a snap. Use a rubber mallet for extra tightness. For non-interlocking mats or PVC rolls, consider using carpet tape for a more secure fit.
FAQs: Frequently Asked Questions on Home Gym Flooring
Q: What thickness of gym flooring do I need?
A: The ideal thickness depends on your workout style. Here’s a general guideline:
- Low-impact exercises (yoga, Pilates): ⅜ inch thickness can suffice.
- General fitness workouts: ½ inch to ¾ inch thickness is a good balance of comfort and support.
- High-impact exercises (weightlifting, plyometrics): Opt for ¾ inch or thicker for maximum impact absorption.
Q: Do I need an underlayment for my gym flooring?
A: An underlayment is not always necessary, but it can offer additional benefits like increased impact absorption, soundproofing, and moisture protection. Consider using an underlayment for high-impact workouts or if your subfloor is uneven or concrete.
Q: How do I clean and maintain my gym flooring?
A: Cleaning and maintaining your gym flooring will not only extend its lifespan but also promote hygiene and prevent the spread of bacteria. Here’s a general cleaning guide:
- Sweep or vacuum regularly: Use a broom or vacuum cleaner to remove dust, dirt, and hair after each workout.
- Wipe down with a damp cloth: For spills or sweat stains, use a damp microfiber cloth with a mild detergent solution (like a few drops of dish soap in warm water). Avoid harsh chemicals or abrasive cleaners.
- Deep clean occasionally: Depending on your usage frequency, perform a more thorough cleaning every few weeks or months. For rubber or PVC floors, you can use a diluted disinfectant solution. For EVA foam mats, check the manufacturer’s recommendations, as some may require spot cleaning or only mild soap and water.
- Allow for air circulation: After cleaning, leave the floor mat completely dry to prevent moisture buildup and potential mold growth. You can use fans or open windows to expedite the drying process.
Additional Tips for a Perfect Home Gym Flooring Setup
- Consider noise reduction: If noise is a concern, especially in apartment settings, choose a thicker flooring option or add an underlayment with soundproofing properties.
- Match the flooring to your workout style: Prioritize durability and impact absorption for weightlifting or plyometrics. Choose comfort and slip resistance for yoga or Pilates.
- Think about aesthetics: Gym flooring comes in various colors and even patterned options. Consider a design that complements your overall home gym décor.
- Utilize edging (optional): For a finished look and to prevent curling edges, especially with PVC rolls, you can add edging strips along the perimeter of the floor.
Conclusion: Your Effortless Home Gym Awaits!
Congratulations! With the right flooring solution and this easy-to-follow guide, you’ve taken a significant step towards creating your dream home gym.
Now that your foundation is set, you can focus on adding the equipment and creating a personalized workout space that motivates you to achieve your fitness goals.
Remember, a home gym is an investment in your health and well-being.
Choose flooring that not only protects your space but also provides a safe, comfortable, and inspiring environment for your workouts.
Citation
Gym flooring – designing for impact and prediction by ResearchGate
Affiliate Marketing Disclosure: This blog post may contain affiliate links to products mentioned throughout the content. By clicking these links and making a purchase, we may receive a commission at no additional cost to you. However, our primary focus remains on providing informative and valuable content to our readers.
We recommend researching and comparing different products before making a purchase.