You’ve got your roller and you’ve mastered the correct foam rolling technique. Now it’s time to put it all together.
Welcome to your first full-body foam rolling routine!
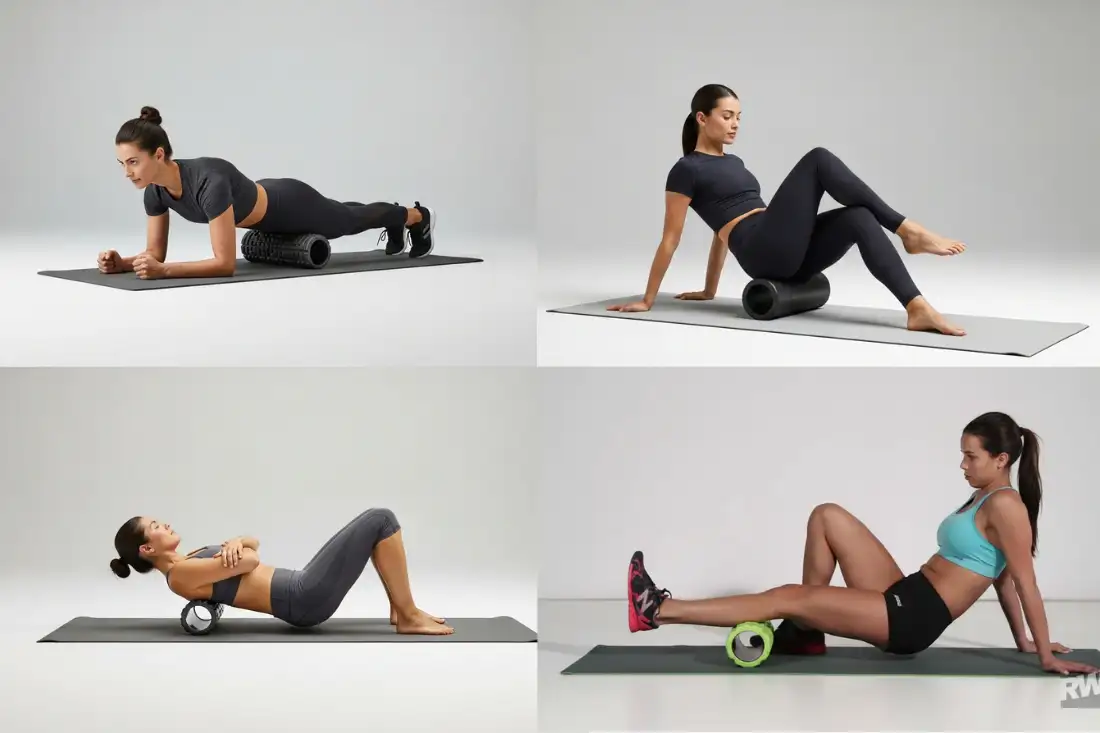
This guide will walk you through eight fundamental exercises that target the major muscle groups most prone to tightness.
We’ll provide clear, step-by-step instructions and images to ensure you perform each move safely and effectively.
Remember to roll slowly and breathe deeply throughout.
For Your Lower Body
Your legs are your foundation.
They carry you through workouts and your daily life, so giving them some attention is crucial.
1. Calves (Gastrocnemius and Soleus)
- Why it’s great: Perfect for runners, walkers, or anyone who spends a lot of time on their feet.
- How to Do It:
- Sit on the floor with your legs straight out in front of you. Place the foam roller under one calf.
- Place your hands on the floor behind you for support and lift your hips off the ground.
- Slowly roll from your ankle up to just below the back of your knee.
- To increase pressure, you can cross the other leg over the one you are rolling.
- Beginner Tip: Gently rotate your leg inward and outward to target different sides of the calf muscle.
This is a key area for runners, and keeping it mobile is just as important as doing specific hip flexor stretches for runners.

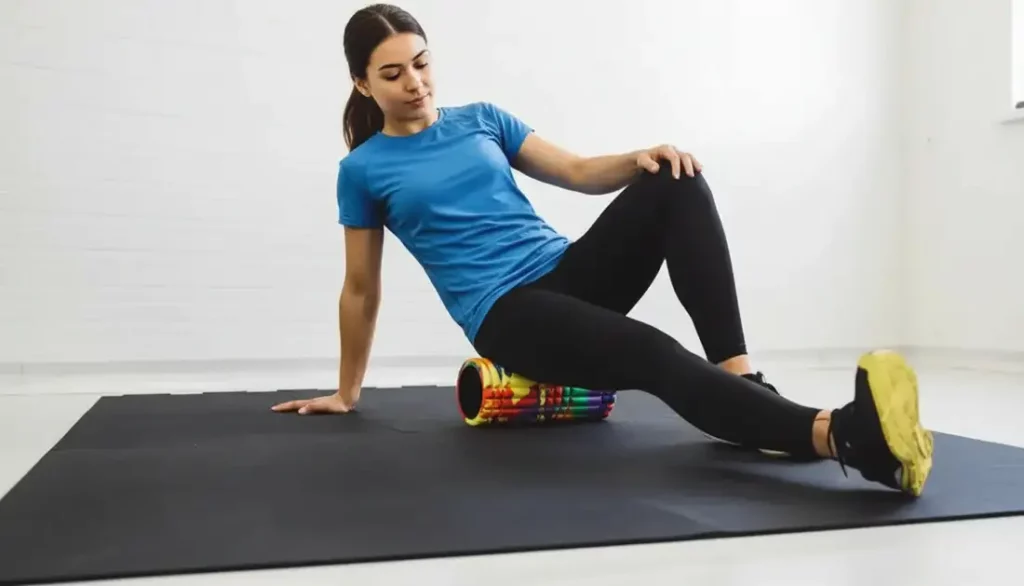
2. Hamstrings
- Why it’s great: Helps relieve tightness from both exercise and prolonged sitting.
- How to Do It:
- Sit on the floor with the roller positioned under your upper thighs.
- Place your hands behind you for support and lift your hips.
- Slowly roll down the back of your leg, from the base of your glutes to just above the back of your knee.
- Beginner Tip: Many people find this exercise too gentle. To increase pressure, roll one hamstring at a time by lifting the other leg off the floor.

3. Quadriceps
- Why it’s great: Your quads are a large muscle group that can get very tight from squats, cycling, and running.
- How to Do It:
- Lie face down and place the foam roller under the front of your thighs.
- Prop yourself up on your elbows, keeping your core engaged to prevent your back from arching.
- Slowly roll from the top of your knee up to your hip flexor.
- Beginner Tip: Slightly turn your body to the left and right to hit the inner and outer parts of the quad.

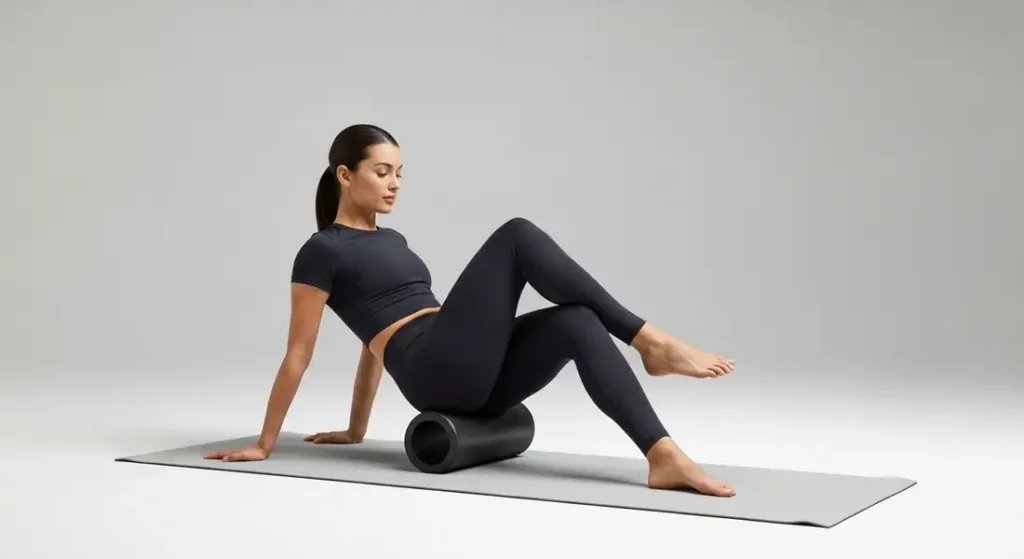
4. Glutes (Gluteus Maximus and Piriformis)
This move is critical for anyone dealing with the hidden connection between tight hip flexors and back pain.
- Why it’s great: Sitting all day can make your glutes tight and sore, sometimes leading to back pain.
- How to Do It:
- Sit directly on the foam roller with your knees bent.
- Shift your weight to one side, placing the roller under one glute.
- Place your hands on the floor behind you for support.
- To deepen the stretch, cross the ankle of the rolling leg over the opposite knee (a “figure-four” position).
- Roll slowly over the entire muscle.
- Beginner Tip: This move targets the piriformis, a small muscle deep in the glutes that can contribute to sciatic pain.
For Your Upper Body and Back
Releasing tension in your upper body is key for improving posture and reducing stiffness from desk work.
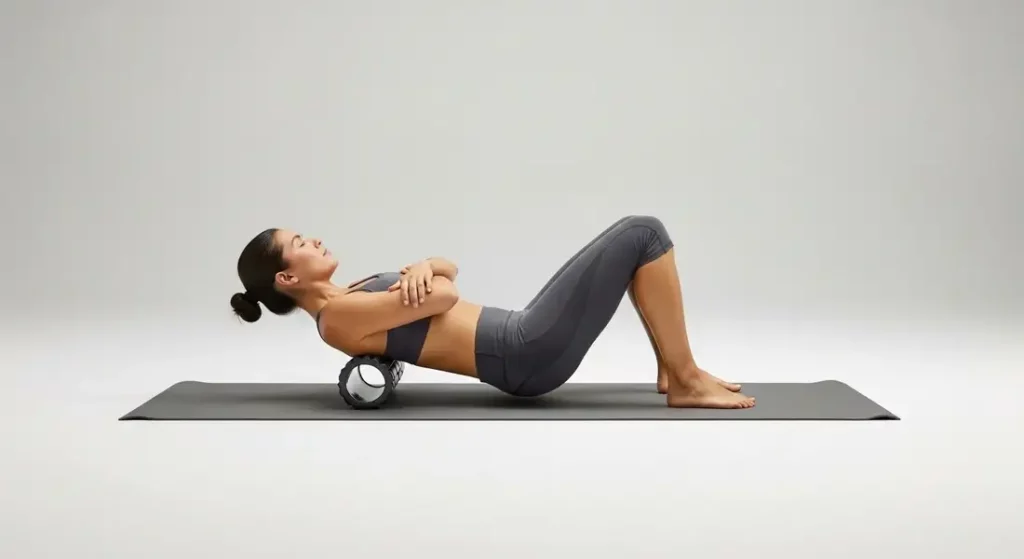
5. Upper Back (Thoracic Spine)
- Why it’s great: Counteracts slouching and relieves stiffness in the upper and mid-back.
- How to Do It:
- Lie on your back with the foam roller positioned under your shoulder blades.
- Bend your knees and place your feet flat on the floor. Cross your arms over your chest or support your head with your hands.
- Lift your hips off the floor and use your feet to slowly roll up and down your mid-to-upper back.
- Important: Never roll your lower back (lumbar spine). It lacks the structural support of the rib cage and rolling it can cause injury.
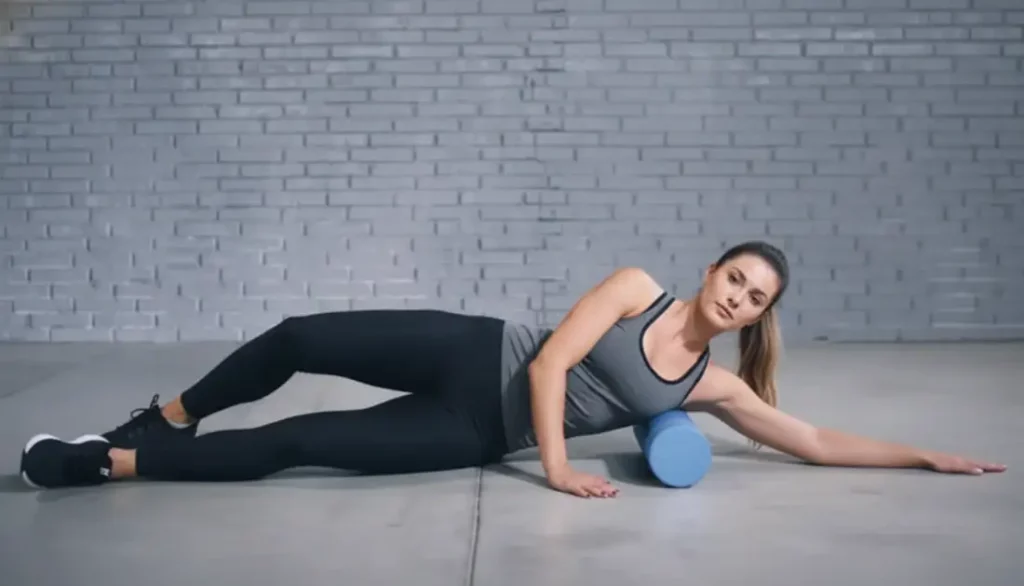
6. Lats (Latissimus Dorsi)
- Why it’s great: Your lats (the muscles on the sides of your back) can get very tight from pulling exercises and can contribute to shoulder immobility.
- How to Do It:
- Lie on your side with the foam roller positioned under your armpit. Extend your bottom arm straight out.
- Use your top arm and legs for support.
- Slowly roll down the side of your torso, stopping when you reach your rib cage.
- Beginner Tip: This area can be very sensitive. Start with very light pressure.
For Your Hips
Tight hips are a modern epidemic, leading to everything from back pain to poor squat form.
7. Hip Flexors
- Why it’s great: Crucial for anyone who sits for long periods. Loosening your hip flexors can provide instant relief.
- How to Do It:
- Lie face down in a similar position to the quad roll.
- Position the roller just below your hip bone on one side.
- Keep the other leg out to the side in a comfortable position for support.
- Use very small, controlled rolls over this area.
- Learning how to loosen your hip flexors is one of the best things you can do for your posture and mobility.

8. IT Band (Iliotibial Band)
- A Word of Caution: The IT band is not a muscle, but a thick band of connective tissue. The scientific community is divided on whether it should be rolled directly. It can be extremely painful.
- The Safer Approach: Focus on rolling the muscles that connect to the IT band: the glutes (see #4) and the tensor fasciae latae (TFL), a small muscle at the front/side of your hip.
- How to Roll the TFL: Lie on your side and place the roller on the front corner of your hip, just below your hip bone. Use tiny, gentle rolls.
Since getting the positioning right for the TFL is key, seeing a video of this specific movement can be incredibly helpful to ensure you’re targeting the correct muscle.
Your First 15-Minute Full-Body Routine
Use this simple table as your guide. Remember to work both the left and right sides for each exercise.
| Muscle Group | Suggested Time (per side) |
| Calves | 1 minute |
| Hamstrings | 1 minute |
| Quadriceps | 1 minute |
| Glutes | 1.5 minutes |
| Upper Back | 1 minute (total) |
| Lats | 1 minute |
| Hip Flexors/TFL | 1 minute |
Key Takeaways
- Go Slow: Speed is not your friend. Slow, deliberate movements are what allow the muscles to release.
- Listen to Your Body: Focus on areas of tightness, but back off if you feel sharp pain.
- Be Consistent: A short, regular routine is more effective than a long, occasional one.
Frequently Asked Questions
Q: How do I know if I’m doing the exercises correctly?
A: You should feel pressure and mild discomfort on the muscle you are targeting, but not sharp pain in your joints or bones. Your movements should be slow and controlled, and you should be able to breathe deeply throughout.
Q: Can I just roll the part that hurts?
A: It’s better to roll the entire length of the muscle first to warm it up, and then go back to hold on any specific tender spots you found. The source of pain isn’t always where the tightness is felt.
You Know the Moves, Now Perfect Your Form
Great job! You’ve just completed a full-body foam rolling routine.
Knowing these basic exercises is a huge step forward.
However, even with the right moves, small mistakes in your form can limit your success.
Finish strong by learning about the Common Foam Rolling Mistakes to Avoid to ensure every session is safe, effective, and beneficial.