Your new stability ball has arrived, and you’re one step closer to a stronger core and better balance.
Now comes the simple but crucial process of inflation.

After choosing the perfect stability ball size, properly inflating it is the most important step for ensuring its safety and effectiveness.
A ball that’s too soft won’t provide the right challenge, while one that’s too hard can be unstable.
Let’s get it just right.
How do you properly inflate a new stability ball?
To properly inflate a new stability ball, use a two-stage process. First, inflate the ball to about 80% of its full size and let it rest for 24 hours. This critical step allows the material to stretch evenly. After 24 hours, inflate it the rest of the way until it is firm but still has a slight give when pressed.
Unboxing and First Inflation – A Step-by-Step Guide
Resist the urge to inflate your ball to its maximum size right out of the box.
The PVC material needs time to stretch and acclimate.
Following this two-stage process will give your ball a longer, safer life.
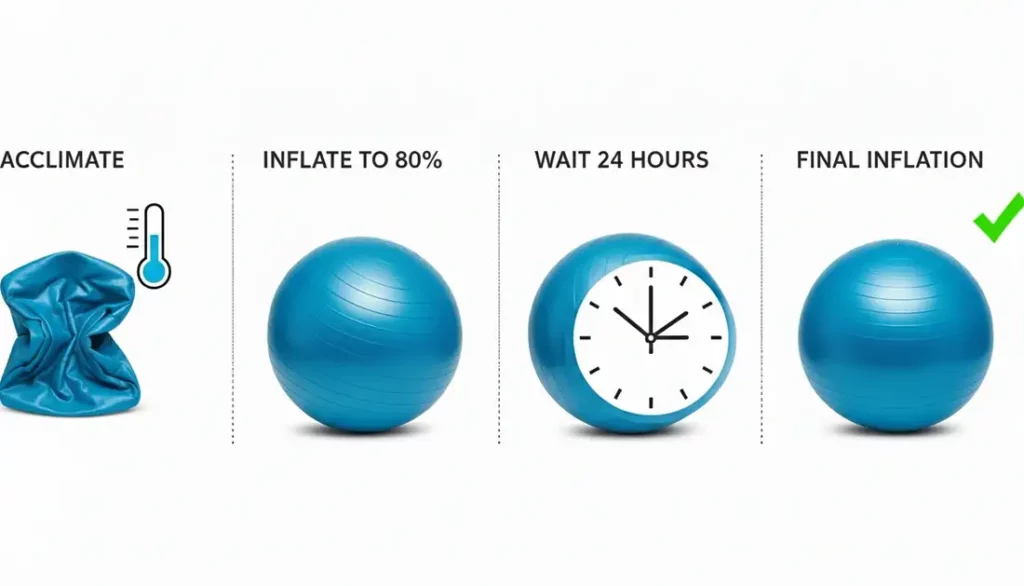
Step 1: Let It Acclimate
- Take the ball out of its packaging and let it sit unfolded at room temperature for at least a few hours. This makes the material more pliable and easier to inflate.
Step 2: The First Inflation (80% Full)
- Use the included pump to inflate the ball to about 80% of its recommended diameter. It will still look a bit soft and may have some creases—that’s perfectly normal.
Step 3: Wait 24 Hours
- Insert the plug and let the ball rest for a full 24 hours. This critical waiting period allows the PVC material to stretch evenly, ensuring a perfectly round and resilient final shape.
Step 4: The Final Inflation
- After 24 hours, remove the plug and continue inflating the ball until it reaches its full, recommended diameter and feels firm to the touch.
Step 5: Secure the Plug
- Firmly insert the plug until the head is flush with the surface of the ball. This ensures no air will leak out during your workouts.
How to Know When the Firmness is Just Right
So, what does “firm” actually feel like?
Here are two simple tests:
- The 90-Degree Rule: Sit on the ball with your feet flat on the floor. Your hips and knees should form a 90-degree angle. If your knees are higher than your hips, it needs more air. If your heels lift off the floor, it has too much.
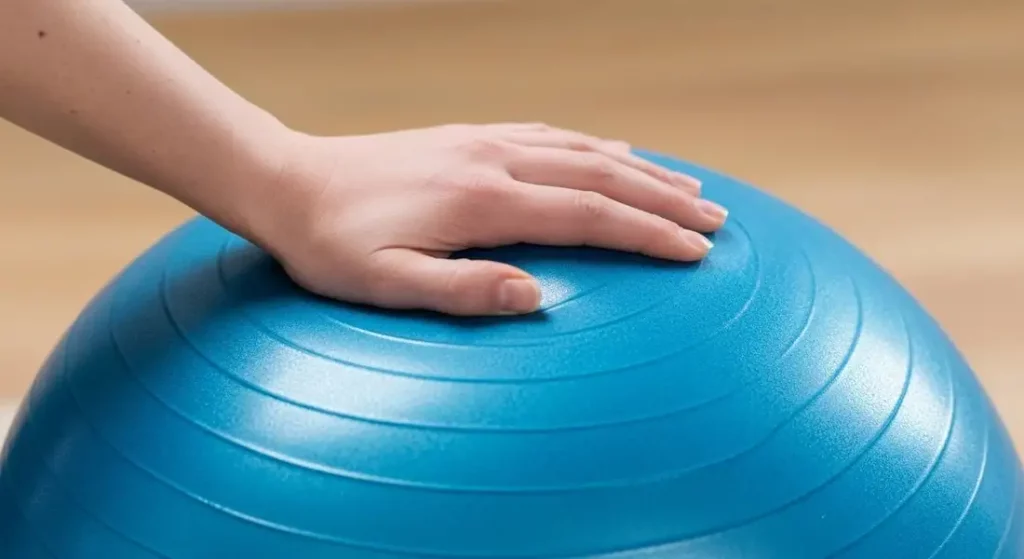
- The Press Test: Press down on the top of the ball with your hand. It should have a little give, indenting about two inches. If it feels hard as a rock or soft as a pillow, adjust the inflation.
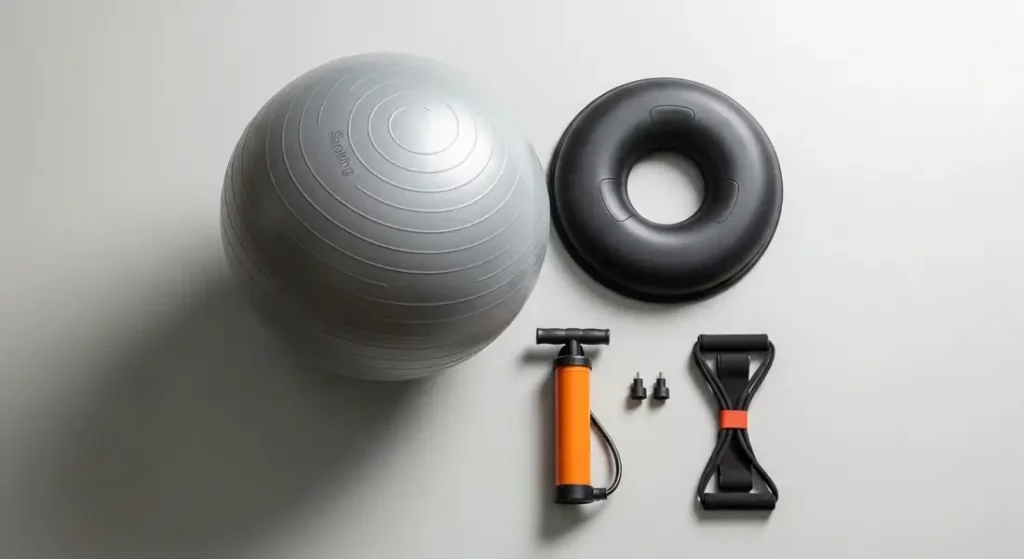
Essential Accessories for Your Stability Ball
While the ball is great on its own, a few simple accessories can enhance its functionality and safety.
(Disclaimer: As an Amazon Associate, we may earn from qualifying purchases.)
Stability Ball Base
A stability ball base (or ring) is a simple, circular stand that prevents the ball from rolling away.
It’s perfect for:
- Absolute beginners who want extra security.
- Using the ball as a desk chair.
- Safe and convenient storage.
- Check out this highly-rated [Stability Ball Base on Amazon].
Resistance Bands
Combining your stability ball with resistance bands opens up a whole new world of exercises.
You can perform chest presses, rows, and bicep curls, all while engaging your core.
For a full routine, see our Resistance Band Workout Guide.
Simple Cleaning, Maintenance, and Storage Tips
A well-maintained ball is a safe ball. Follow these simple rules:
- Cleaning: Wipe your ball down with a cloth and mild soap and water. Avoid harsh or abrasive chemical cleaners that can degrade the material.
- Maintenance: Before each use, give your ball a quick visual inspection. Check for any scuffs, scratches, or potential damage.
- Environment: Keep your ball away from sharp objects (including pet claws), direct sunlight, and extreme heat, all of which can weaken the PVC over time.
Key Takeaways
| Task | Best Practice | Why It’s Important |
| Inflation | Use the two-stage, 24-hour method. | Allows the material to stretch evenly for durability. |
| Firmness | Check for the 90-degree angle when sitting. | Ensures proper form and exercise effectiveness. |
| Cleaning | Use mild soap and water. | Prevents material degradation from harsh chemicals. |
| Safety | Inspect before each use and keep away from heat. | Prevents unexpected deflation or damage. |
Frequently Asked Questions (FAQ)
- Q1: My ball seems too small even after inflating it the second time. What should I do?
- A: The PVC material can be very stiff, especially on a new ball. It likely just needs more air than you think. Continue pumping until it reaches the correct height for the 90-degree rule, even if it feels tight.
- Q2: How often will I need to re-inflate my ball?
- A: It’s normal for a stability ball to lose a small amount of air over time. Depending on frequency of use and air temperature, you may need to top it up with the pump every few weeks to maintain optimal firmness.
Conclusion and Your Next Step
You’ve chosen the right ball and inflated it to perfection.
By following these simple maintenance tips, you’ve ensured your new fitness tool will serve you safely and effectively for years to come.
Your ball is now officially ready for action. It’s time to put it to work.
Let’s get moving! Head over to our next guide to learn the 10 Basic Stability Ball Exercises to Build Your Core and Balance.