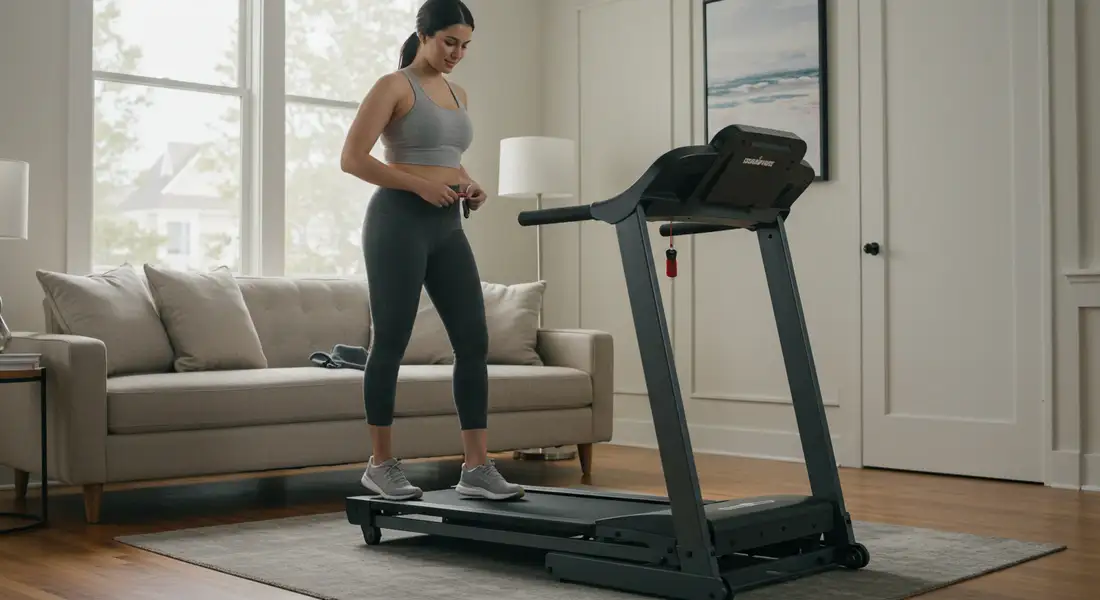
Ready to hop on your treadmill but feeling a little… cautious?
That’s completely normal! Using a powerful piece of equipment for the first time naturally comes with questions about doing it right and, most importantly, staying safe.
But here’s the good news: treadmill safety isn’t about memorizing a long list of scary “don’ts.”
It’s about understanding a few simple procedures that give you confidence and complete control over your workout.
Think of this guide as your personal pre-flight checklist for treadmill success.
We’ll walk you through everything step-by-step, from preparing your space before you start to stepping off safely after you finish.
Mastering these simple habits ensures your treadmill journey is positive, effective, and completely injury-free.
This builds on knowing the Key Treadmill Features Explained and is the essential foundation before trying those fun Simple Treadmill Workouts.
Let’s build your confidence!
Pre-Flight Check – Setting Up for Success BEFORE You Step On
Just like a pilot checks their plane, a few moments of preparation before you start your workout can make all the difference for safety and focus.
Clear the Decks
- Take a quick look around. Is there enough clear space all around your treadmill?
- Pay special attention to the area behind the machine – you need several feet of unobstructed space in case you stumble backward.
- Remove any potential hazards like loose rugs, toys, water bottles on the floor, or curious pets.
Gear Up Right
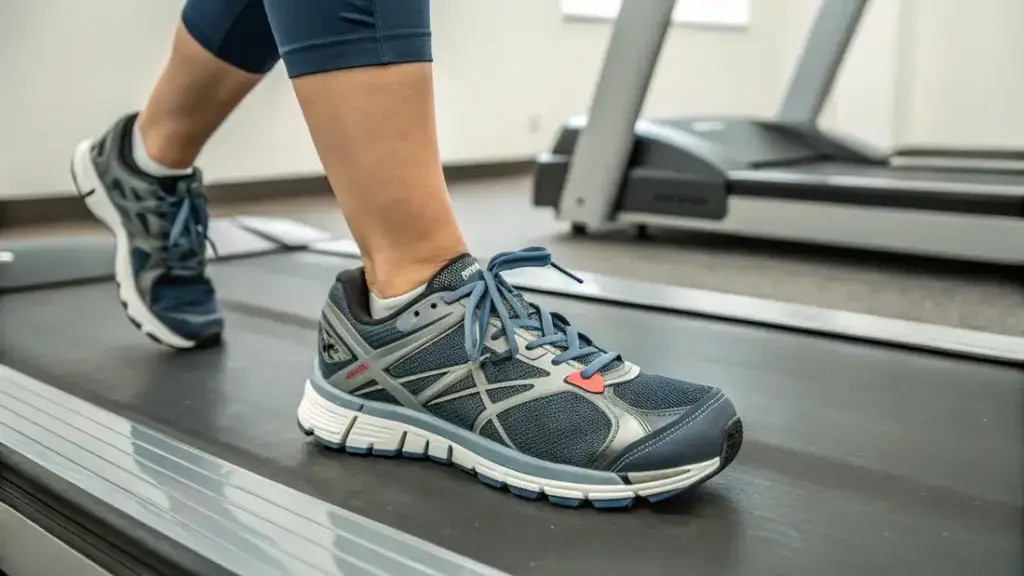
- What you wear matters.
- Choose supportive athletic shoes designed for walking or running – never use a treadmill barefoot, in socks, or in casual footwear like sandals.
- Opt for comfortable, breathable workout clothes that aren’t overly baggy or long, as loose fabric could potentially get caught.
Know Your Machine (The Basics)
- Quickly glance at the console.
- Re-familiarize yourself with the location of the essential controls: Start/Stop, Speed Up/Down, Incline Up/Down, the Safety Key slot, and critically, the main Emergency Stop button (usually red and prominent).
- You don’t need to be an expert, just know where these key controls are.
Gentle Warm-Up (Off-Treadmill)
- Before stepping onto the machine, spend 3-5 minutes doing some light dynamic movements to prepare your muscles.
- Think leg swings (forward/back and side-to-side), arm circles, torso twists, or high knees.
- This gets blood flowing and readies your body for activity.
The Safety Key Ritual – Your Non-Negotiable First Step
If there’s one safety rule to burn into your memory, this is it.
The safety key is your primary protection against a serious fall.
What it is & WHY it’s Crucial
- It’s that red cord with a clip on one end and a magnet or plug on the other.
- Its sole purpose is to instantly stop the treadmill belt if you stumble, drift too far back, or fall. If the clip pulls the key from the console, the power cuts immediately.
- It’s a simple but incredibly effective safety mechanism.
The Correct Procedure
- Find the key. Attach the clip end securely to a firm piece of your clothing, ideally around your waistband where it won’t easily get knocked off but can pull free if needed.
- Ensure there’s enough slack so it doesn’t pull out during normal movement.
- Identify the slot or magnetic area on the console designed for the key.
- BEFORE starting the belt, insert the other end of the key firmly into its designated spot on the console.
- Always attach the clip to yourself FIRST, then insert the key.
Test it (Gently)
- Before your very first workout, while standing still off the belt, try giving the cord a gentle tug to ensure the key detaches smoothly from the console.
- This helps you understand how it feels and confirms it’s working.
Know Your Cockpit – Quick Control Familiarization
With the safety key in place, take one final second before the belt starts moving:
- Re-identify Key Controls: Glance again at Start, Stop, Speed Up/Down, Incline Up/Down, and that big Emergency Stop button.
- Mental Check: Briefly visualize pressing the speed buttons or the stop button. This quick mental rehearsal builds familiarity.
The Liftoff Sequence – Starting Your Treadmill Safely, Step-by-Step
This is where many beginners feel hesitant. Follow these exact steps every time for a smooth, controlled start:
1. The Critical Straddle Start
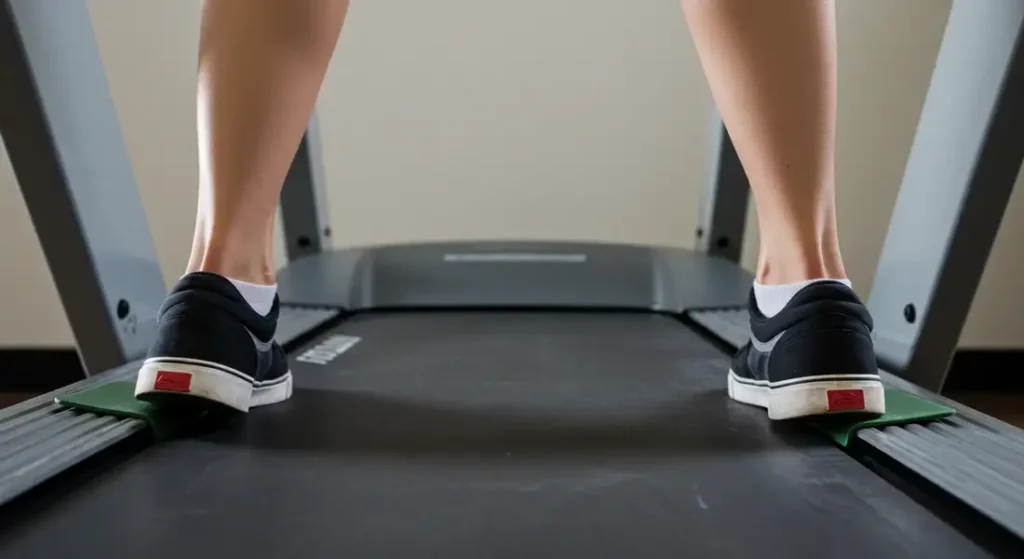
- This is paramount. ALWAYS begin by standing with one foot firmly planted on each side rail (the stationary platforms beside the belt).
- You should be straddling the belt, not standing on it.
- NEVER stand on the belt and then press start.
2. Initiate Minimum Speed
- Press the ‘Start’ button.
- The console will likely light up. Immediately set the speed to the absolute slowest setting possible (often 0.5 mph or 1.0 mph / 0.8 kph or 1.6 kph).
- Allow the belt to begin moving slowly beneath you while you remain securely on the side rails.
3. Light Handrail Hold (Initially)
- Gently place your hands on the handrails for balance and stability as you prepare to step onto the moving belt.
- Don’t grip tightly.
4. Step On Carefully
- Looking forward, place one foot onto the center of the slowly moving belt, followed quickly by the other foot.
- Match your steps to the slow speed of the belt. Find your balance.
5. Gradual Acceleration
- Once you feel stable and balanced on the moving belt, slowly use the Speed Up (+) button to increase the pace to your desired starting walk speed.
- Once comfortable, you can release your grip on the handrails (or keep it very light).
- Avoid sudden jumps in speed!
Cruising Altitude – Maintaining Safe Form & Control During Your Workout
You’re moving! Now, let’s focus on staying safe and comfortable while you exercise.
Finding Your Form (Keep it Simple)
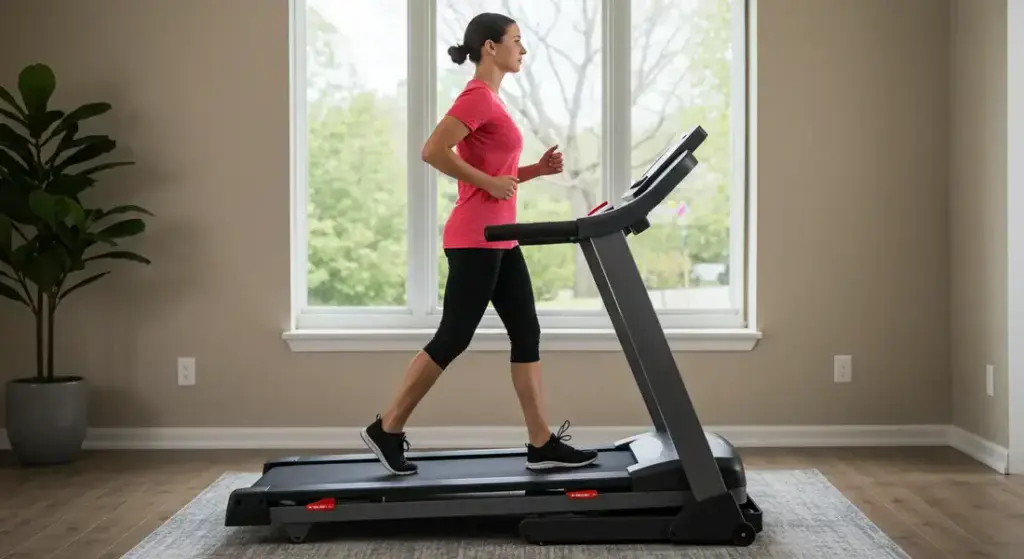
- Look Ahead: Keep your head up and focus your gaze naturally forward, not down at your feet or the console constantly. This helps maintain balance and prevents neck strain.
- Posture Power: Stand tall with your shoulders relaxed (not hunched up by your ears). Keep your back relatively straight and engage your core muscles gently for stability.
- Natural Arm Swing: Let your arms swing naturally from your shoulders, bent at the elbow, just like you would when walking or running outside. Avoid stiff, locked arms.
- Smooth Striding: Use a comfortable, natural stride length. Don’t force overly long strides or take tiny, choppy steps. Aim to land towards your mid-foot rather than heavily on your heels.
Handrail Use – Support, Not a Crutch
- It’s okay to lightly touch or hold the handrails for a moment to check your balance, especially when starting out or changing speed/incline.
- However, avoid gripping them tightly or leaning on them for your entire workout.
- This reduces the effectiveness of your exercise, can lead to poor posture, and might even cause shoulder or wrist strain. Let your legs and core do the work!
Making Adjustments Safely
- When you want to change speed or incline, always make small, gradual adjustments.
- Press the button briefly a few times rather than holding it down for a large jump.
- If you feel unsteady making changes, lightly brace yourself with the handrails during the transition.
Turbulence Training – Handling the Unexpected (Emergency Stop & Stumbles)
Even with perfect preparation, sometimes things happen. Knowing how to react keeps you safe.
The Big Red Button (Emergency Stop)
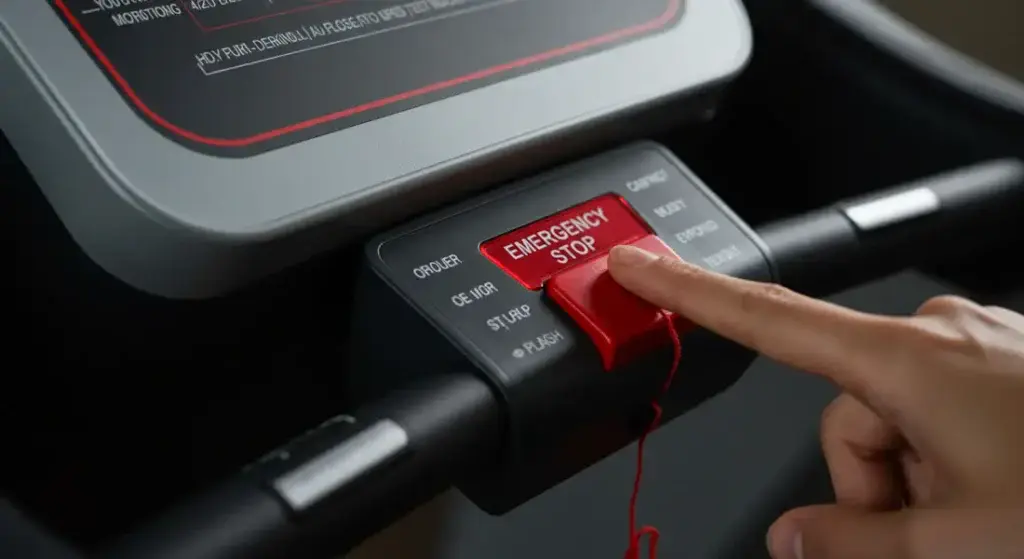
- Know exactly where your main Emergency Stop button is.
- Use it without hesitation if you suddenly feel dizzy, faint, nauseous, experience sharp pain, hear a loud unusual noise from the machine, or need to stop immediately for any reason.
If You Stumble or Drift Back
- Your first line of defense is the Safety Key.
- If you move too far back, it should pull out and stop the belt abruptly (it might be startling!). Your instinct might be to grab the handrails – that’s okay.
- Try to regain your footing on the side rails if possible.
Recovering Balance
- If you just feel momentarily unsteady, immediately slow the speed down significantly using the controls, or hit the main Stop button.
- Lightly use the handrails to stabilize yourself.
- Regain your composure before either resuming at a slower pace or stopping completely using the proper procedure.
Smooth Landing – Stopping and Exiting Safely
Just as important as starting correctly is stopping correctly. Don’t just jump off!
1. Gradual Deceleration
- When you’re ready to finish, don’t abruptly hit ‘Stop’ while moving quickly.
- Use the Speed Down (-) button to slowly decrease your speed until you are back to a very slow, comfortable walking pace (similar to your starting speed, e.g., 1.0-1.5 mph).
2. Prepare to Exit (Straddle Again)
- While the belt is still moving at that very slow pace, carefully and deliberately place one foot, then the other, back onto the stationary side rails.
- You are now straddling the moving belt again, just like when you started.
3. Stop the Belt Completely
- Now that you are safely off the belt, press the main ‘Stop’ button.
- Watch the belt and wait for it to come to a complete standstill.
4. Step Off the Machine
- Once the belt has completely stopped, you can safely step off the side rails onto the floor.
5. Remove Safety Key
- As a final step, remove the safety key from the console and unclip it from your clothing.
Don’t Forget Your Cool Down
- This slow walking phase can serve as part of your cool-down.
- Follow it up with 3-5 minutes of gentle static stretching for your major leg muscles (quads, hamstrings, calves) once you are off the treadmill.
Avoid These Beginner Blunders – Common Treadmill Safety Mistakes
Learn from common errors to keep yourself safe! Avoid these:
- ❌ Starting/Stopping while standing ON the belt.
✅ Fix: Always use the Straddle Start/Stop method (stand on side rails). - ❌ Looking down at feet or phone constantly.
✅ Fix: Look ahead to maintain balance and posture. - ❌ Death-gripping handrails the whole time.
✅ Fix: Use lightly for balance only; swing arms naturally. - ❌ Making abrupt, large speed/incline changes.
✅ Fix: Adjust gradually and smoothly. - ❌ Forgetting or not using the safety key.
✅ Fix: ALWAYS use it, clipped securely. It’s your main safety net! - ❌ Setting speed too high before feeling comfortable.
✅ Fix: Start slow, increase speed incrementally only when ready. - ❌ Wearing inappropriate footwear (or none).
✅ Fix: Always wear supportive athletic shoes. - ❌ Placing the treadmill too close to walls/furniture.
✅ Fix: Ensure ample clear space, especially behind the machine.
Conclusion
See? Treadmill safety isn’t complicated!
By following this step-by-step checklist, you transform understandable caution into confident control.
Mastering these simple procedures – from the pre-workout check and safety key ritual to the proper start/stop sequence and maintaining good form – allows you to focus on enjoying your workout and reaping the fantastic benefits of your treadmill.
Practice these steps consciously for your first few sessions.
Soon, they’ll become second nature, and you’ll be stepping onto your treadmill feeling completely secure and ready to move.
You’ve got this!
Ready to put your safe operating skills into action?
Explore some effective and enjoyable Simple Treadmill Workouts for Beginners designed just for you!
Need a quick reminder on what the different features do? Revisit our guide to Key Treadmill Features Explained.
Or head back to the main hub for all things treadmill beginners: Ultimate Beginner’s Guide to Treadmills.