Congratulations! You’ve learned the what, why, and how of foam rolling, and you’ve even mastered a full routine of basic foam rolling exercises.
You are well on your way to reducing muscle soreness and improving your mobility.
However, to truly get the most out of every session, it’s just as important to know what not to do.
Many beginners fall into the same traps, which can make foam rolling less effective or, in some cases, even cause pain or injury.
Let’s cover the seven most common mistakes and the simple fixes to ensure your rolling is always safe and productive.
Mistake #1: Rolling Way Too Fast
It’s tempting to roll back and forth quickly over a sore muscle, thinking you’re getting more done.
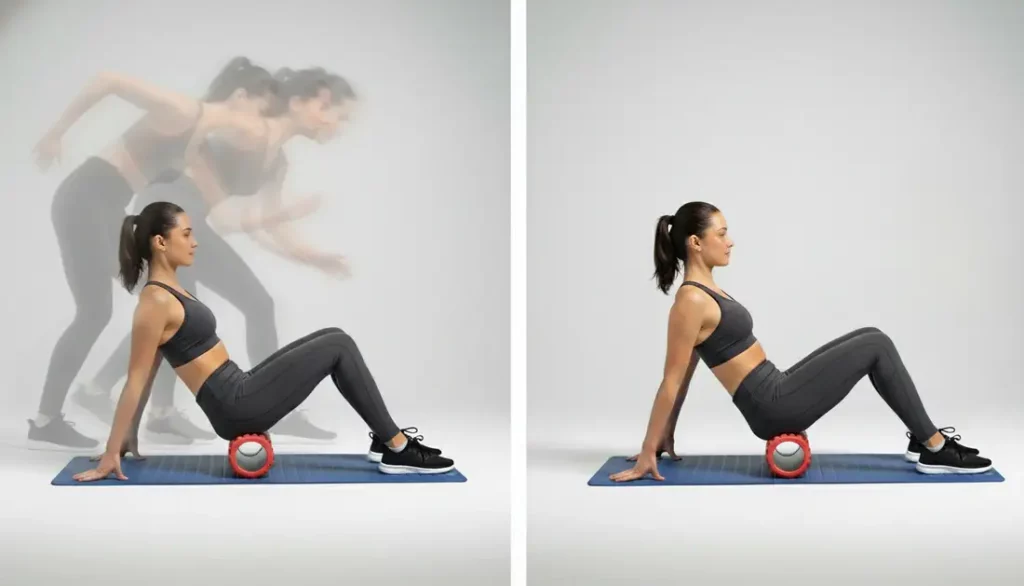
In reality, this is one of the biggest and most common errors.
- The Problem: Your muscles and fascia need time to respond to the pressure. When you roll too fast, the muscle’s natural protective response is to tense up, which is the exact opposite of what you want.
- The Fix: Slow down. Dramatically. Move at a deliberate pace of no more than one inch per second. This gives the muscle fibers time to adapt and release.
Mistake #2: Rolling Directly Onto a Painful Area First
When your quad is screaming, your first instinct is to put the roller right on the most painful spot and apply as much pressure as possible. This can be counterproductive.
- The Problem: An intensely painful knot is already inflamed. Applying aggressive, direct pressure can sometimes increase that inflammation and even cause bruising, making the problem worse before it gets better.
- The Fix: Work indirectly first. Start by rolling the areas around the super-tender spot. This helps the surrounding muscles relax and increases blood flow to the area. Then, you can gradually move closer and apply gentle, sustained pressure to the knot itself.
Mistake #3: Spending Too Much Time on One Spot
Once you find a knot, you might be tempted to hold pressure on it for several minutes, thinking more is better.
- The Problem: Holding intense pressure on a single spot for too long (more than a minute) can irritate a nerve or potentially damage the muscle tissue.
- The Fix: Less is more. When you find a trigger point, hold sustained pressure for 20 to 30 seconds. That’s all you need for the neuromuscular system to signal a release. After 30 seconds, move on. You can always come back to it later in the session if needed.
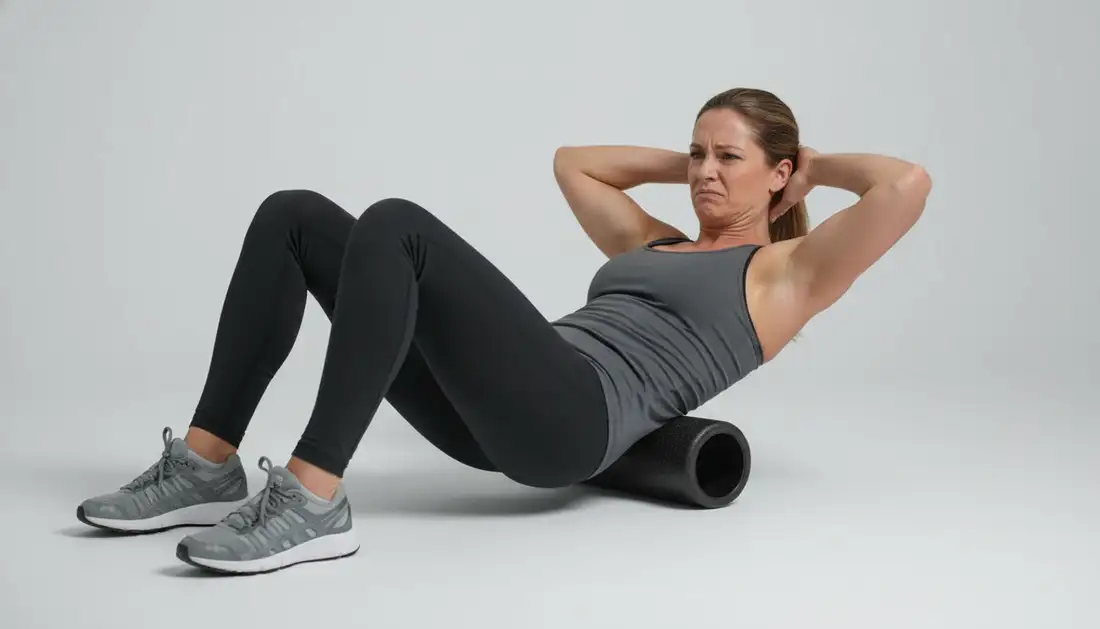
Mistake #4: Using Bad Posture
It’s easy to focus so much on the muscle you’re rolling that you forget about the rest of your body.
- The Problem: Slouching your shoulders, craning your neck, or putting your wrists at awkward angles can cause strain in other parts of your body. You don’t want to fix your hamstring tightness only to create a new pain in your neck.
- The Fix: Stay mindful of your overall form. Engage your core, keep your spine in a relatively neutral position, and try to relax your shoulders and neck. If you feel yourself straining, reset your position.
Mistake #5: Rolling Your Lower Back
This is the most critical mistake to avoid.
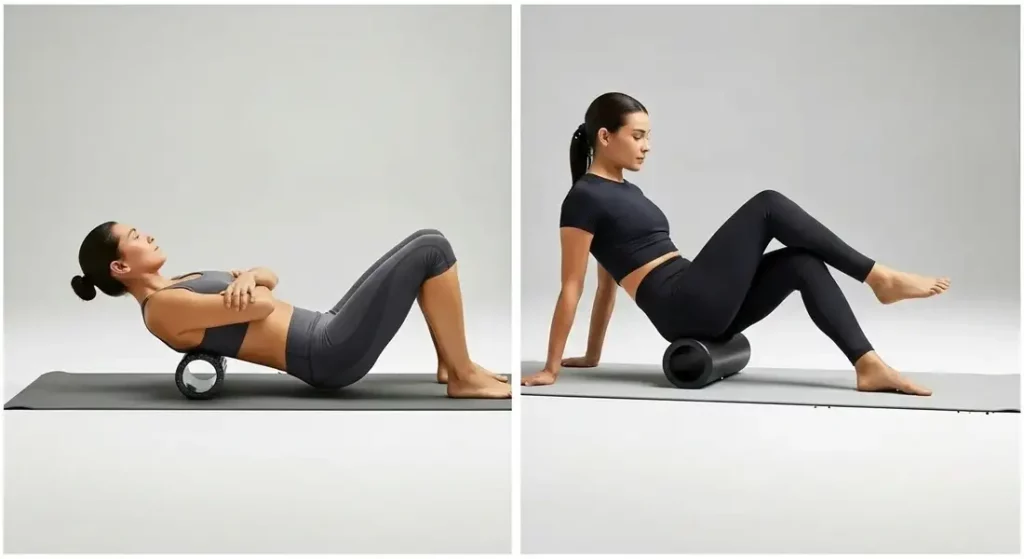
While rolling the upper back is fantastic, the lower back is off-limits.
- The Problem: Your upper back (thoracic spine) is protected by your rib cage and shoulder blades. Your lower back (lumbar spine) has no such support. As explained in a medically reviewed article from Healthline, rolling your lower back puts direct pressure on the vertebrae and can cause the spinal muscles to spasm in a protective effort, potentially leading to serious injury.
- The Fix: Never place the roller directly under your lower back. Lower back pain is often caused by tightness in the muscles that connect to it. To relieve lower back pain, focus on rolling your glutes, piriformis, and hip flexors.
Mistake #6: Rolling “Cold” Muscles
While you can technically foam roll anytime, rolling muscles that are completely “cold” (i.e., first thing in the morning with no movement) can feel overly intense and may not be as effective.
- The Problem: Cold muscles are less pliable. The sensation of rolling will be more intense, and the fascia may not release as easily.
- The Fix: For best results, foam roll after your workout as part of your cool-down. If you want to roll on a rest day, do a few minutes of light activity first, like walking, jogging in place, or some dynamic stretches, to get blood flowing to the muscles.
Mistake #7: Not Being Consistent
Foam rolling for an hour once a month won’t give you the lasting benefits you’re looking for.
- The Problem: The benefits of foam rolling, like increased flexibility and reduced soreness, are cumulative. Infrequent sessions mean you’re essentially starting from scratch each time.
- The Fix: Aim for consistency over duration. A short, focused session of 10-15 minutes, 3 to 4 times per week, will yield far better and more lasting results than one marathon session.
Consistency is Key – Your Weekly Plan
A little bit of effort, done consistently, is far more effective than one long session once a month.
To get the best results, aim for a schedule that allows for both work and recovery.
Here is a sample plan that a beginner can follow.
| Day | Recovery Plan | Status |
| Monday | Foam Roll (10-15 Minutes) | ✅ Done |
| Tuesday | Rest Day | – |
| Wednesday | Foam Roll (10-15 Minutes) | ✅ Done |
| Thursday | Rest Day | – |
| Friday | Foam Roll (10-15 Minutes) | ✅ Done |
| Saturday | Active Recovery (e.g., Light Walk) | – |
| Sunday | Rest Day | – |
Key Takeaway: As this simple schedule shows, you only need to dedicate a few minutes, three to four times a week, to build a powerful and lasting recovery habit.
Quick Reference Table – Do’s and Don’ts of Foam Rolling
| Do This | Don’t Do This |
| Roll slowly (1 inch per second). | Roll back and forth quickly. |
| Hold on tender spots for 20-30 seconds. | Spend several minutes on one knot. |
| Breathe deeply and relax. | Hold your breath and tense up. |
| Roll glutes & hips for back pain. | Roll your lower back directly. |
| Maintain good posture. | Let your hips sag or neck crane. |
Frequently Asked Questions
Q: I rolled my IT band and it was extremely painful. Should I continue?
A: Intense, sharp pain is a signal to stop. The IT band is not a muscle and direct, aggressive rolling can cause inflammation. Instead, focus on rolling the muscles that attach to it: the glutes and the TFL (at the front of your hip).
Q: Why exactly is rolling the lower back dangerous?
A: Rolling the lower back puts direct pressure on your spinal vertebrae without the protection of a rib cage. This can cause the muscles around the spine to lock up in a protective spasm or, in worse cases, could contribute to issues with the spinal discs. It’s an area where the risk far outweighs any potential reward.
You’re Officially a Foam Rolling Pro!
Congratulations! You have successfully completed the entire Beginner’s Guide to Foam Rolling.
You now have all the knowledge you need to choose a roller, master the techniques, perform the exercises, and avoid the common pitfalls.
You are fully equipped to make foam rolling a safe, effective, and beneficial part of your fitness routine.
Now that you’ve mastered recovery on the floor, why not explore other ways to improve your home fitness?
Check out our guide on the Best Home Muscle Recovery Equipment for Athletes or dive into our complete library of Workout and Recovery Guides.